Ingress to services in a Consul Service Mesh on Kubernetes
To use the ngrok Ingress Controller with Consul in a local demo environment:
Introduction
The ngrok Ingress Controller for Kubernetes is our official open-source controller for adding public and secure ingress traffic to your k8s services. It works on any cloud, local, or on-prem Kubernetes cluster to provide ingress to your services no matter the network configuration, as long as it has outbound access to the ngrok service. This allows ngrok to be portable and work seamlessly across any type of infrastructure.
Consul is a secure and resilient service mesh that provides service discovery, configuration, and segmentation functionality. Consul Connect provides service-to-service connection authorization and encryption using mutual TLS, automatically enabling TLS for all Connect services. Consul can be used with Kubernetes to provide a service mesh for your Kubernetes cluster.
Together, Consul provides a robust and secure way for Services within a cluster to communicate, while ngrok can seamlessly and securely provide public ingress to those services. This guide will walk you through setting up a Consul Service Mesh on Kubernetes and then using the ngrok Ingress Controller to provide ingress to your services to illustrate how they can work together.
- An ngrok account.
- kubectl
- Helm 3.0.0+
- A remote or local Kubernetes cluster with Consul installed OR minikube to set up a demo cluster locally.
Step 1: Set up a local Consul Service Mesh on Kubernetes
For this guide, we'll need access to a remote or local Kubernetes cluster with Consul installed. If you have an existing cluster with Consul set up, you can skip this step and proceed to Step 2: Install the ngrok Ingress Controller.
If you don't have one set up, we'll set up a local Minikube cluster and install Consul now.
- Create a local cluster with minikube
minikube start --profile dc1 --memory 4096 --kubernetes-version=v1.22.0
- Create a file called
values.yamlwith the following contents:
# Contains values that affect multiple components of the chart.
global:
  # The main enabled/disabled setting.
  # If true, servers, clients, Consul DNS and the Consul UI will be enabled.
  enabled: true
  # The prefix used for all resources created in the Helm chart.
  name: consul
  # The name of the data center that the agents should register as.
  data center: dc1
  # Enables TLS across the cluster to verify authenticity of the Consul servers and clients.
  tls:
    enabled: true
  # Enables ACLs across the cluster to secure access to data and APIs.
  acls:
    # If true, automatically manage ACL tokens and policies for all Consul components.
    manageSystemACLs: true
# Configures values that configure the Consul server cluster.
server:
  enabled: true
  # The number of server agents to run. This determines the fault tolerance of the cluster.
  replicas: 1
# Contains values that configure the Consul UI.
ui:
  enabled: true
  # Registers a Kubernetes Service for the Consul UI as a NodePort.
  service:
    type: NodePort
# Configures and installs the automatic Consul Connect sidecar injector.
connectInject:
  enabled: true
- Install the Consul Helm chart
helm repo add hashicorp https://helm.releases.hashicorp.com

helm install --values values.yaml consul hashicorp/consul --create-namespace --namespace consul --version "1.0.0"
kubectl get pods --namespace consul -w- Verify Consul is installed and all its pods are healthy
kubectl get pods --namespace consul
NAME                                           READY   STATUS    RESTARTS        AGE
consul-connect-injector-6f67d58f8d-2lw6l       1/1     Running   0               17m
consul-server-0                                1/1     Running   0               17m
consul-webhook-cert-manager-5bb6f965c8-pjqms   1/1     Running   0               17m
We now have a Kubernetes cluster with a Consul service mesh installed.
These steps are based on Consul's Tutorial Consul Service Discovery and Service Mesh on Minikube
Step 2: Install the ngrok Ingress Controller
Now that we have a Kubernetes cluster with Consul installed, we can install the ngrok Ingress Controller to provide ingress to our services. We'll use Helm to install the ngrok Ingress Controller into our cluster and use pod annotations to enable the Consul Connect sidecar injector. This will allow us to use Consul Connect to secure the traffic between the ngrok Ingress Controller and our services.
- First, we need to create a Kubernetes Service for the ngrok Ingress Controller. Consul relies on this to name our services to declare Service Intention
sourceanddestinationvalues. We'll create a Kubernetes Service for the ngrok Ingress Controller in theconsulnamespace.
apiVersion: v1
kind: Service
metadata:
  name: ngrok-ingress-controller
  namespace: consul
spec:
  ports:
    - name: http
      port: 80
      protocol: TCP
      targetPort: 80
  selector:
    app.kubernetes.io/name: kubernetes-ingress-controller
- Add the ngrok Ingress Controller Helm repo
helm repo add ngrok https://charts.ngrok.com - Set your environment variables with your ngrok credentials. Replace
[AUTHTOKEN]and[API_KEY]with your Authtoken and API key for your account.export NGROK_AUTHTOKEN=[AUTHTOKEN]
export NGROK_API_KEY=[API_KEY] - Install the ngrok Ingress Controller
Next, we'll install the ngrok Ingress Controller into our cluster. We want the controller pods to be in the Consul service mesh in order to proxy traffic to our other services. We'll use pod annotations to enable the Consul Connect sidecar injector and allow outbound traffic to use the Consul mesh. Consul documents how to set these 2 annotations in the Configure Ingress Controllers for Consul on Kubernetes doc.
# This annotation is required to enable the Consul Connect sidecar injector
consul.hashicorp.com/connect-inject: "true"
# This is the CIDR of your Kubernetes API: `kubectl get svc kubernetes --output jsonpath='{.spec.clusterIP}'
consul.hashicorp.com/transparent-proxy-exclude-outbound-cidrs: "10.96.0.1/32"
helm install ngrok-ingress-controller ngrok/kubernetes-ingress-controller \
  --namespace consul \
  --set fullnameOverride=ngrok-ingress-controller \
  --set credentials.apiKey=$NGROK_API_KEY \
  --set credentials.authtoken=$NGROK_AUTHTOKEN \
  --set-string podAnnotations.consul\\.hashicorp\\.com/connect-inject=true \
  --set podAnnotations."consul\.hashicorp\.com/transparent-proxy-exclude-outbound-cidrs"="YOUR KUBERNETES API CIDR"
- HashiCorp's docs also mention the annotation
consul.hashicorp.com/transparent-proxy-exclude-inbound-ports. This is not applicable to the ngrok Ingress Controller as we create an outbound connection for Ingress rather than exposing ports. - The
--set-stringflag allows the pod annotation to escape the.character in the annotation name while ensuring the valuetrueis a boolean and not a string. - In a production environment, or anywhere you wish to use Infrastructure as Code and source control your Helm configurations, you can set up your credentials following this guide.
- Verify the ngrok Ingress Controller is installed and all its pods are healthy
kubectl get pods -l 'app.kubernetes.io/name=kubernetes-ingress-controller' -n consul
NAME                                                READY   STATUS    RESTARTS      AGE
ngrok-ingress-controller-manager-5b796c88f7-k7v6z   2/2     Running   1 (64s ago)   67s
Step 3: Install a Sample Application
Now let's install a sample application to try out our service mesh and Ingress Controller combination. We'll use the HashiCups Demo Application HashiCorp uses for demos and guides such as in their Getting Started with Consul Service Mesh for Kubernetes guide. This application is a simple e-commerce application that allows users to order coffee cups.
The application has a frontend and public API services that are also backed by a private API and database. These communicate with each other through the Consul service mesh. This comes with nginx installed as a proxy for the frontend and Public API services. We'll replace this with ngrok to provide public access and other features.
consul namespace.The ngrok Ingress Controller can send traffic to services across different namespaces, but Consul Service Intentions across namespaces require an enterprise account. For now, we'll keep everything in the same namespace.
- Clone the HashiCorp Learning Consul repo. This has multiple great example applications for learning about Consul and Kubernetes. We'll use the HashiCups application for this guide.
git clone https://github.com/hashicorp/learn-consul-kubernetes
- Install the HashiCups sample app in the
consulnamespace. This app consists of multiple Services and Deployments that make a tiered application. We'll install all of them from this folder and then modify things from there.
kubectl apply -f learn-consul-kubernetes/service-mesh/deploy/hashicups -n consul
- Remove the existing Service Intentions for the
public-apiandfrontendservices and add our own.
Consul has the concept of Service Intentions. In short, they are a programmatic way to configure the Consul Service mesh to allow or deny traffic between services.
HashiCups comes with nginx installed with intentions to the frontend and public-api services. We'll remove these and add our own intentions to allow traffic from the ngrok Ingress Controller to the frontend and public-api services.
kubectl delete serviceintentions public-api -n consul
kubectl delete serviceintentions frontend -n consul
- Create Service Intention from ngrok to HashiCups and the public-api
apiVersion: consul.hashicorp.com/v1alpha1
kind: ServiceIntentions
metadata:
  name: ngrok-consul-frontend
  namespace: consul
spec:
  destination:
    name: frontend
  sources:
    - action: allow
      name: ngrok-ingress-controller
apiVersion: consul.hashicorp.com/v1alpha1
kind: ServiceIntentions
metadata:
  name: ngrok-consul-api
  namespace: consul
spec:
  sources:
    - name: frontend
      action: allow
    - name: ngrok-ingress-controller
      action: allow
  destination:
    name: public-api
Step 4: Configure Public Ingress for the sample application
Now that the ngrok Ingress Controller can communicate with the frontend service and public-api service through the Consul Service Mesh via Service Intentions, we can create an ingress to route traffic to the app. We'll create ingress objects to route traffic to the frontend service and the public-api service.
Update the line host: $NGROK_DOMAIN_NAME in the ingress object below to your ngrok domain name. For a free account, select something unique that is a subdomain of ngrok.app. For example, host: my-unique-hashicups.ngrok.app.
apiVersion: networking.k8s.io/v1
kind: Ingress
metadata:
  name: ingress-consul
  namespace: consul
spec:
  ingressClassName: ngrok
  rules:
    - host: $NGROK_DOMAIN_NAME
      http:
        paths:
          - path: /
            pathType: Prefix
            backend:
              service:
                name: frontend
                port:
                  number: 3000
          - path: /api
            pathType: Prefix
            backend:
              service:
                name: public-api
                port:
                  number: 8080
- Uses the
ngrokingress class - The host is the ngrok domain name you selected that is static
- There is a route for
/that routes to thefrontendservice on port3000 - There is a route for
/apithat routes to thepublic-apiservice on port8080
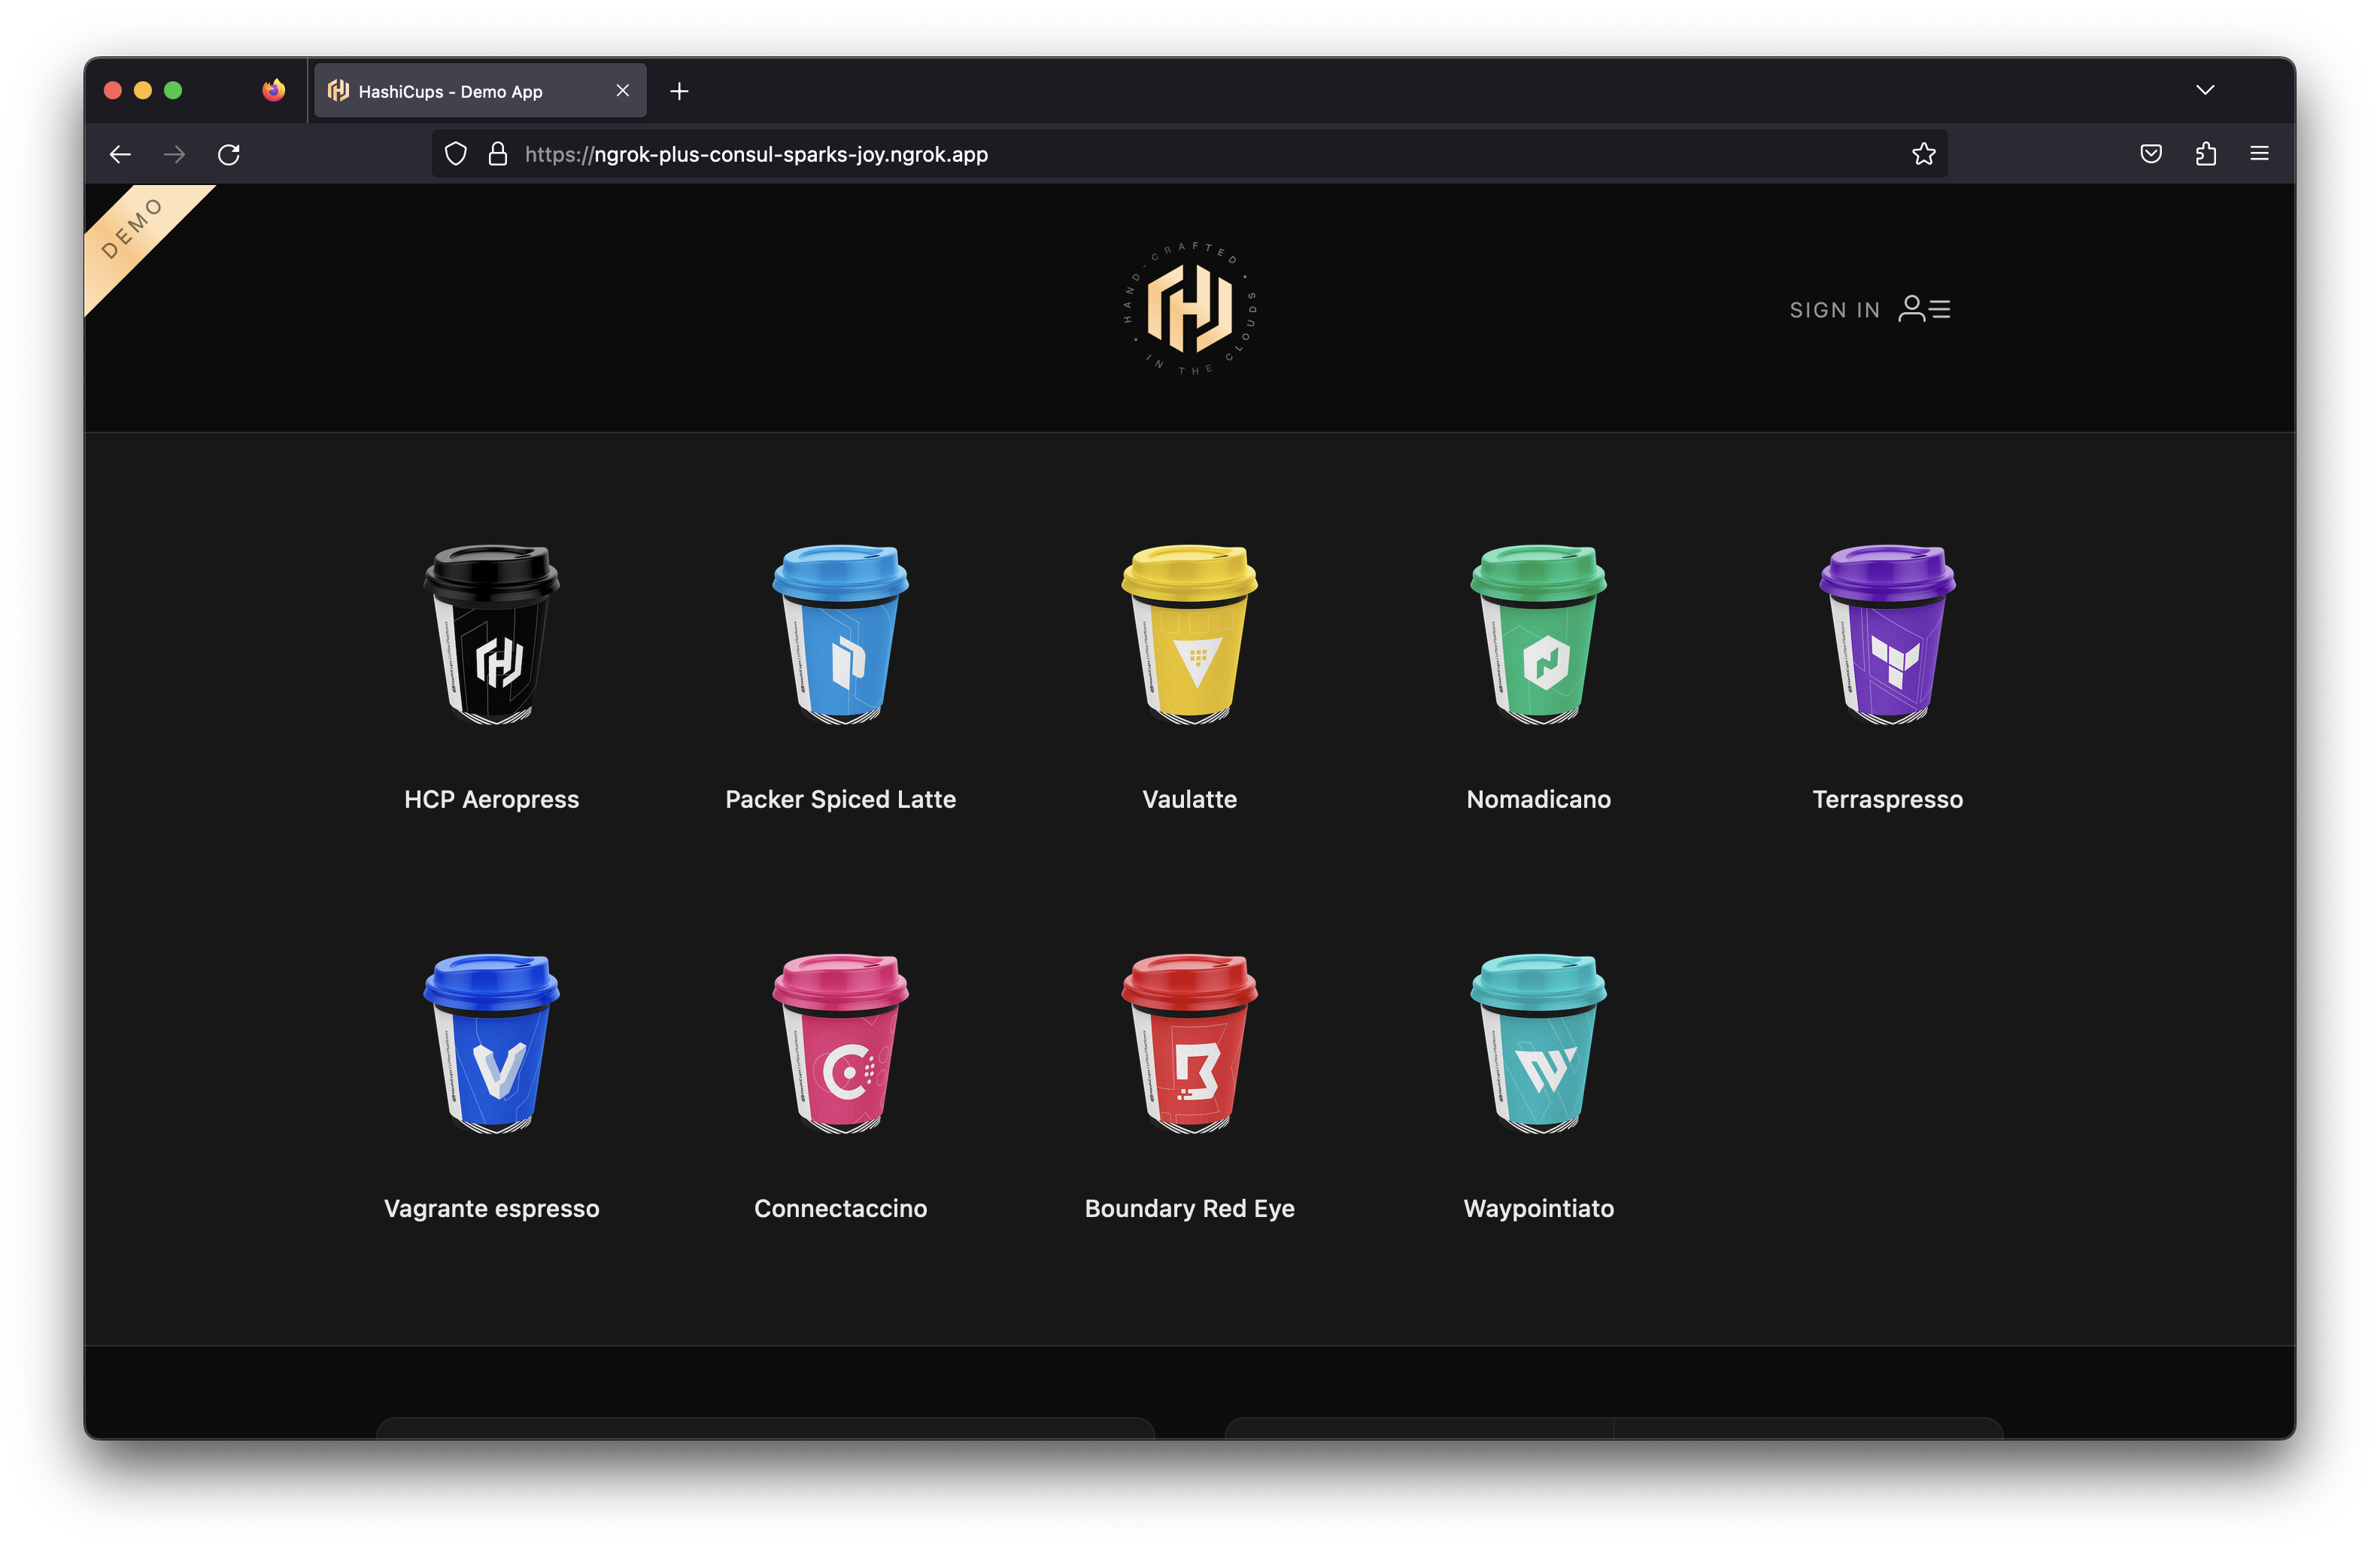
Open your $NGROK_DOMAIN_NAME domain in your browser and see the HashiCups application!

Step 5: Add OAuth Protection to the App
Now that we have the HashiCups application running, we can add OAuth protection to it. We'll use the OAuth module of the ngrok Ingress Controller to add OAuth protection to the app. This will allow us to use Google OAuth to protect the app.
- Create an NgrokModuleSet
The NgrokModuleSet is a custom resource that allows you to configure the modules of the ngrok Ingress Controller. We'll create one to configure the OAuth module. Create the following NgrokModuleSet
kind: NgrokModuleSet
apiVersion: ingress.k8s.ngrok.com/v1alpha1
metadata:
  name: oauth-module
  namespace: consul
modules:
  oauth:
    google:
      emailAddresses:
        # Replace with your email address
        - my-email@my-domain.com
      # Or specify a list of domains instead of individual email addresses
      # emailDomains:
      # - my-domain.com
This example uses the ngrok Managed OAuth Application for simplicity. To use your own Managed OAuth Application, you can try Creating a custom Google OAuth application or use an existing one.
You can then create a Kubernetes Secret with the clientId and clientSecret and reference the secret in your module set like this example.
- Add the module to the ingress
Now that we have the module set created, we can add it to the ingress. We'll add an annotation to the ingress to add the module set to it.
kubectl annotate ingress ingress-consul k8s.ngrok.com/modules=oauth-module -n consul
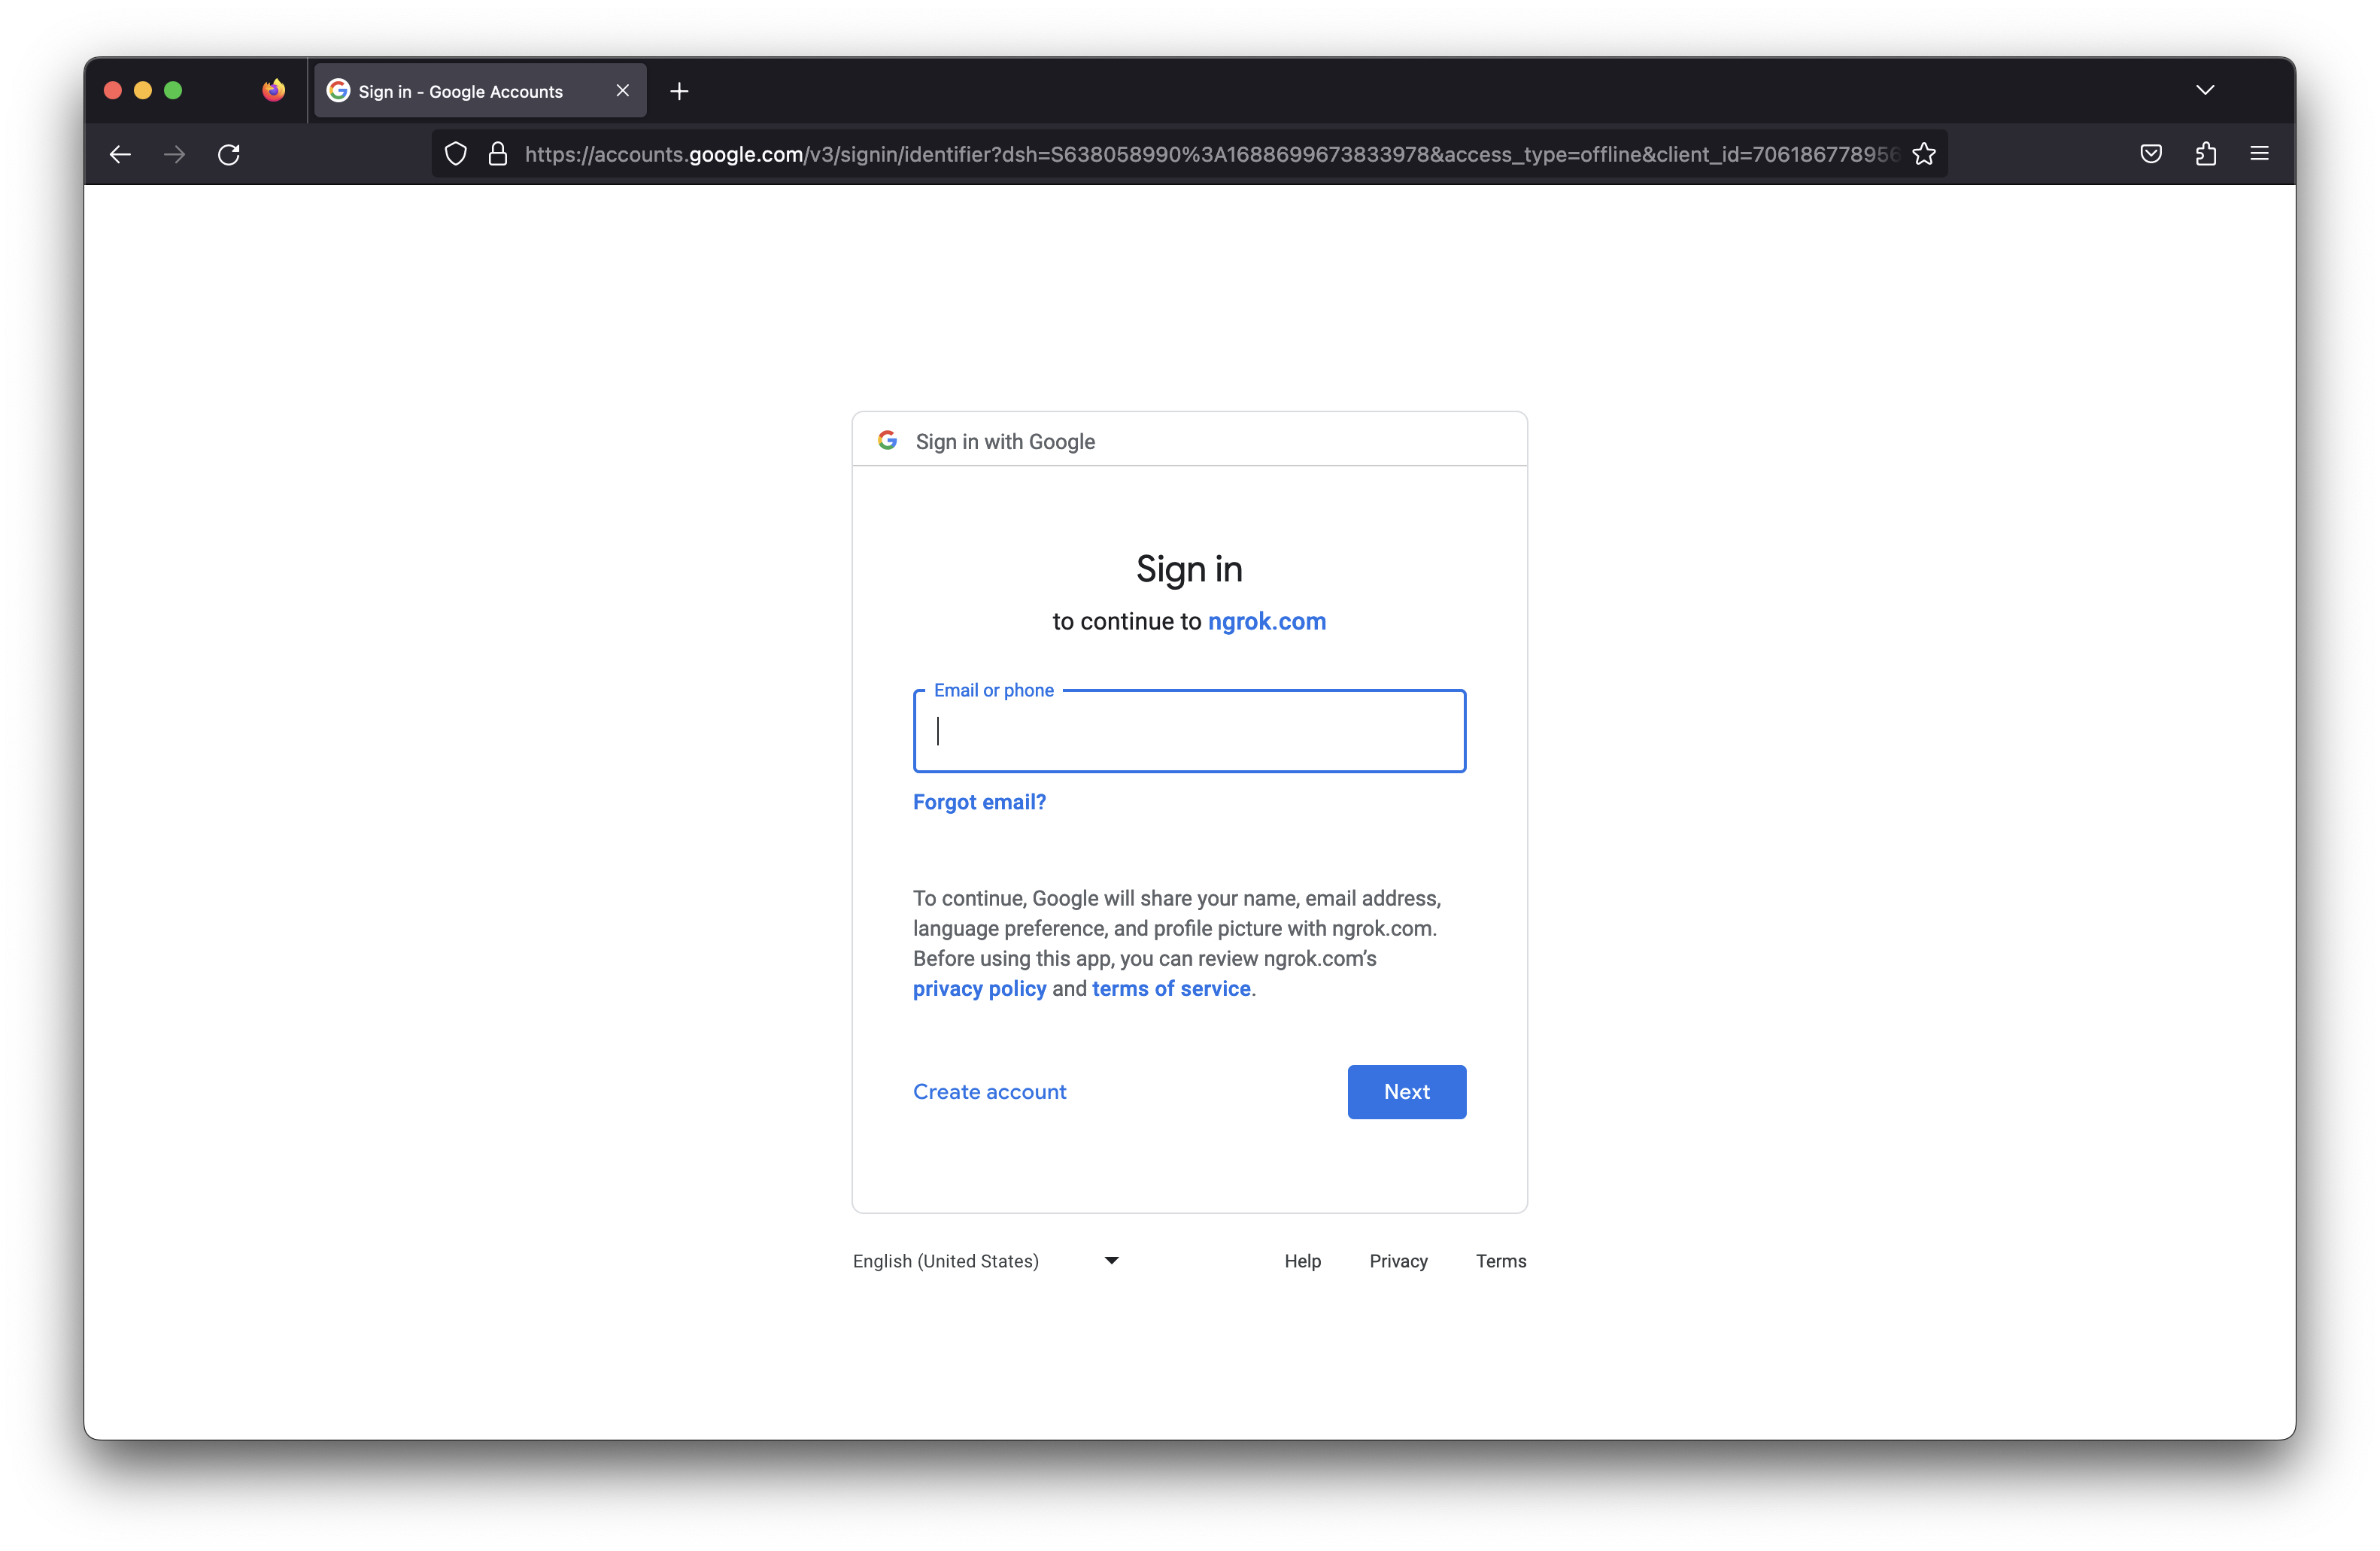
This applies the OAuth module to each route on our ingress object. Navigate to your HashiCups app at $NGROK_DOMAIN_NAME and you'll see the Google OAuth screen.

Sign into your account and you'll be redirected to the HashiCups app! Now only you can order from HashiCups from anywhere!